

When the picture you’ve imagined won’t match the stage
The problem starts simple: a promise of brightness and crispness on a spec sheet, and the quiet, inexorable failure when eyes meet the installed surface. You need a screen that reads like a voice from the wall, not a pale echo. Start by naming that failure—glare, pixel grain, banding on camera, or a panel that buckles in wind—and plan around it. If you plan to avoid last-minute panic, consider a reliable option like led wall rental early in the conversation so testing becomes part of design, not a frantic afterthought.

Diagnose: the technical ailments that ruin sightlines
Look for root causes rather than symptoms. Pixel pitch too large for close viewing makes text unreadable. Insufficient brightness loses against daylight and stage lights. Low refresh rates turn cameras into turbines of flicker. Poor power distribution creates dim bands. Measure distance, ambient light, and camera angles first; specifications follow. Record those three numbers and let them govern every purchase and rental decision.
Concrete choices that answer the diagnosis
Pick pixel pitch by viewing distance: denser pitches for audiences under five meters, coarser pitches for festival backdrops. Aim for indoor brightness near 800–1,200 nits; outdoor daytime requires several thousand nits. For any shooting with broadcast cameras, choose a refresh rate high enough to avoid scan-lines—production teams often require very high refresh specs. Choose modular cabinets for transport and serviceability. Confirm color calibration tools and a reliable control system so video maps stay true from dress rehearsal to showtime.
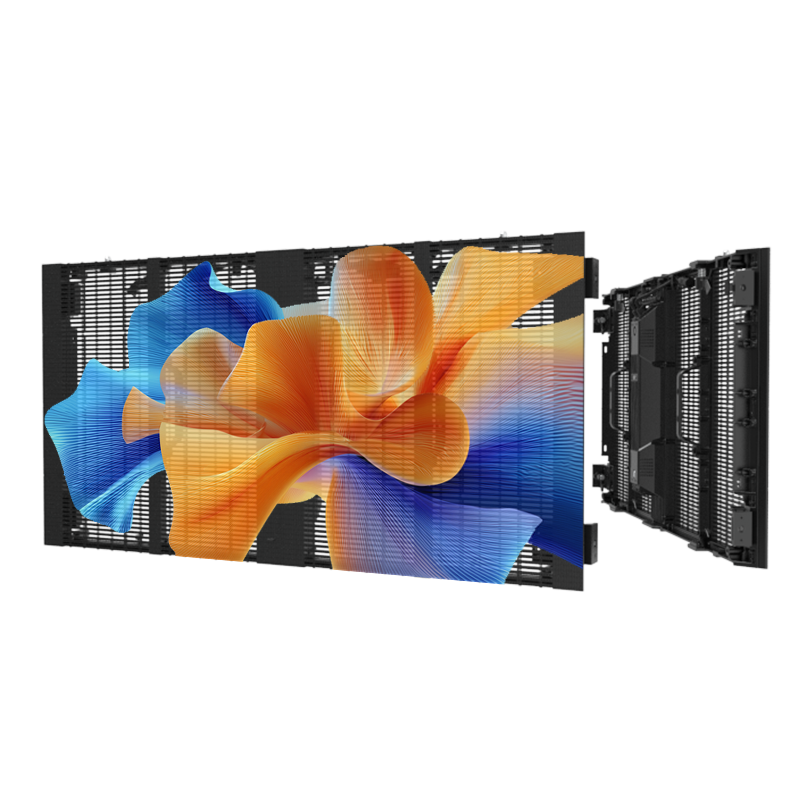
Experience that matters and one unmistakable anchor
Technical choices become credible when paired with field-tested practice. Production managers at major live broadcasts have learned to demand redundant power and preflight mockups; the Super Bowl halftime teams, for instance, have repeatedly used rented modular arrays as the backbone of large sets. That operational reality explains why many planners opt for a led rental screen—it lets designers iterate on-site and producers swap panels without reengineering the whole rig. My own years on festival rigs taught me to expect logistics friction and to count service windows as non-negotiable in contracts.
Practical checklist before you sign or buy
Confirm these items in writing: mounting points and wind load rating; exact cabinet dimensions and weight per square meter; total and peak power consumption with an N+1 backup plan; pixel pitch and certified brightness at operating temperature; refresh rate suitable for cameras you will use; control system compatibility with your media server; spare modules and a trained technician on-call. Contractually set an on-site test window and a shipping buffer—transport delays are the silent saboteur of timelines.
Common mistakes and their fixes
Underestimating ambient light: choose higher nits or add shading. Ignoring camera requirements: test screens with intended cameras at full frame rates. Overlooking airflow: plan for ventilation and temperature sensors. Relying on a single power feed: specify redundant circuits. Trusting a vendor’s “standard” without seeing color profiles: demand a calibrated sample. Each mistake is avoidable with a short checklist and one rehearsal that stresses the system the way real use will.
How this thinking resolves the problem
When you stop hoping a screen will perform and begin specifying how it must perform under real stress—distance, light, camera, wind—you remove surprises. The right combination of pixel density, brightness, refresh, structural design, and logistics gives you a screen that speaks clearly to both eyes and cameras. For those specifics and panels that answer measured requirements, installers and designers often rely on partners like HDC, because the solution lives in how components come together, not in a single number on a sheet.